


JEWELRY MAKING TOOLS & SUPPLIES
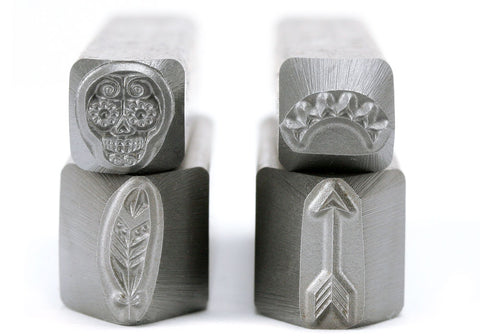
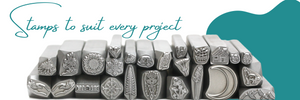
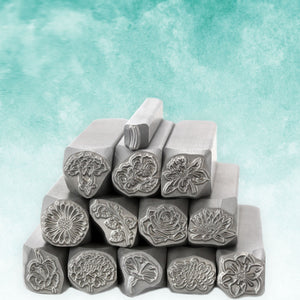
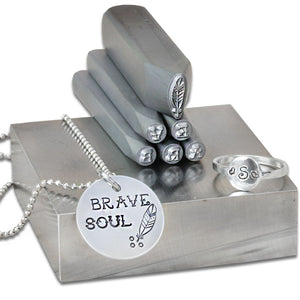
Metal Design Stamps
(636 items)
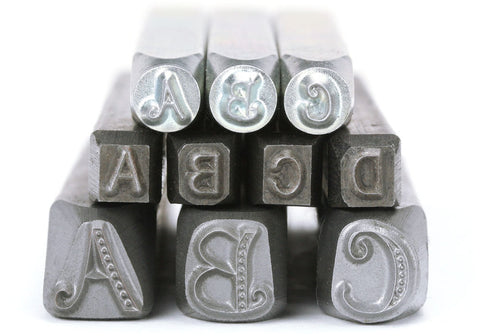
Letter and Number Stamp Sets
(104 items)
Other Metal Stamping Tools
(67 items)
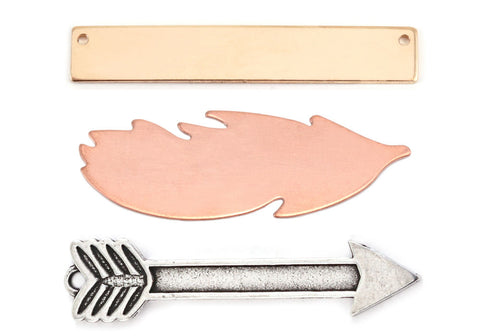
Metal Stamping Blanks
(663 items)
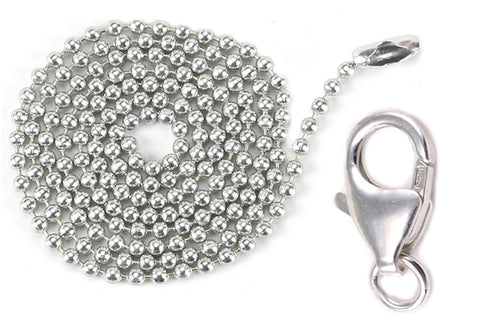
Chain
(51 items)
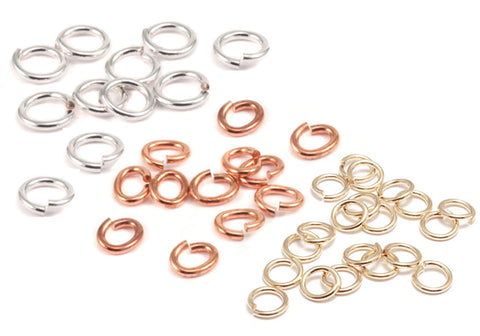
Jump Rings & Split Rings
(45 items)
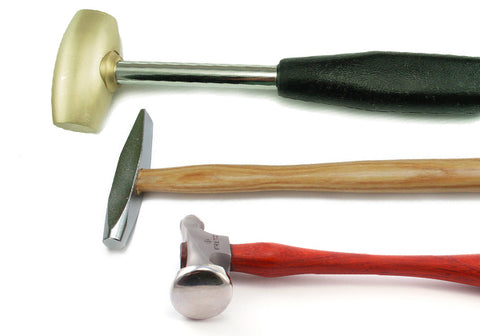
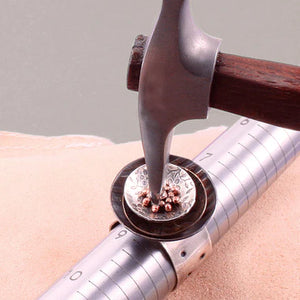
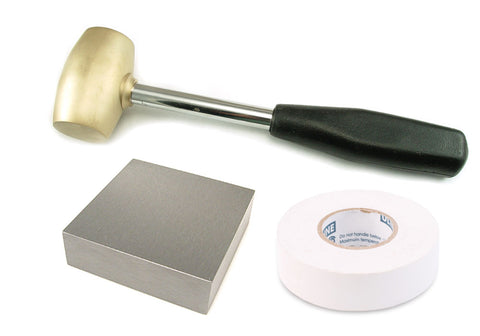
Hammers
(21 items)

Bench Blocks
(15 items)
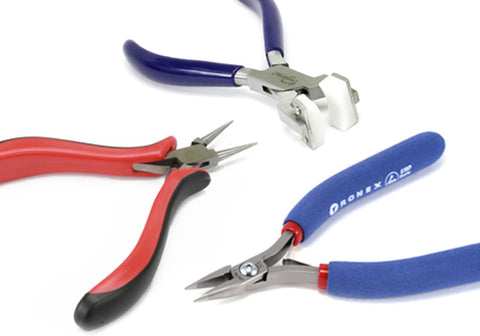
Pliers & Cutters
(43 items)

Hole Punches & Saws
(28 items)
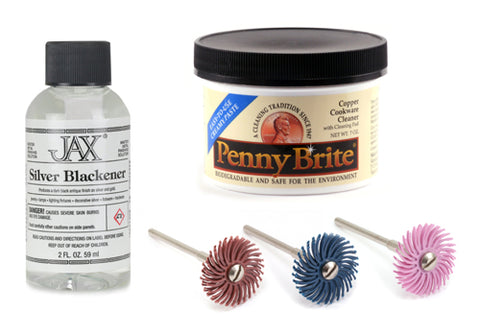
Oxidizing & Polishing
(52 items)
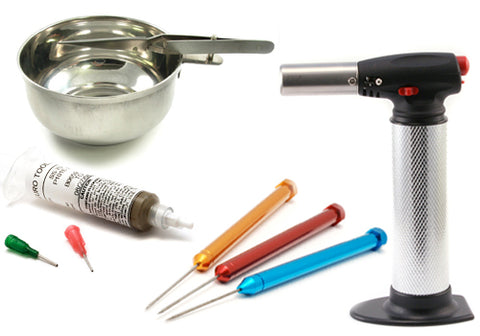
Soldering & Fusing Tools
(40 items)

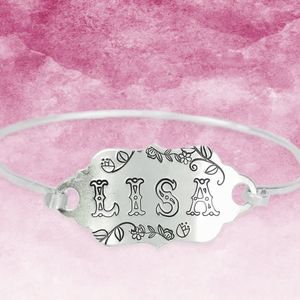
New to Metal Stamping? Start here!
On this page you'll find links to stamping videos for beginners, metal stamping products, kits, charts and simple how-to instructions to help you get started making metal stamped jewelry and gifts. Whatever your project may be, Beaducation has the metal stamping tools and supplies to help you start your new creative hobby. Have more questions? Connect with us on our Facebook group!